
If your team publishes documentation, policies, or knowledge base articles in Confluence, you have probably dealt with the challenge of getting the right people to review and approve content before it goes live. A single approval step works for small teams, but as content governance requirements grow, you need sequential stages where different stakeholders sign off in order.
This tutorial walks through setting up a multi-step approval workflow in Confluence using ApprovalFlow, a Forge-native app that adds structured approval lifecycles to Confluence pages. By the end, you will have a working multi-step workflow with assigned approvers, understand how the approval cycle works from submission to final sign-off, and know how to monitor approvals across your space.
Prerequisites
Before you start, make sure you have:
- A Confluence Cloud instance with space admin permissions
- ApprovalFlow installed from the Atlassian Marketplace (go to Apps > Manage apps and search for ApprovalFlow)
- At least one Confluence space where you want to enable approvals
- The users you plan to assign as approvers already added to your Confluence instance
Once installed, ApprovalFlow appears in your space’s left navigation under Space apps. You will see four tabs: Workflows, Approval Queue, Workflow Analytics, and Manage Space.
Step 1: Create a Multi-Step Workflow
Open your Confluence space and navigate to Approval Flow in the left sidebar. Select the Workflows tab.
- Click Create Workflow.
- Enter a descriptive name. A useful naming convention is
<Domain> <Purpose> Workflow— for example, “Docs Review and Publish Workflow” or “Policy Legal and Compliance Workflow”. - Under Workflow type, select Multi step. This enables sequential approval stages rather than a single pass.
- Configure your first step:
- Add one or more approvers by searching for their Confluence usernames.
- Choose the approval mode: select Any one approver if a single approval is sufficient for this stage, or All approvers if every assigned reviewer must approve before the page moves to the next step.
- Add a second step by clicking the add step control. Repeat the approver assignment and mode selection.
- Add as many steps as your process requires. Common patterns include:
- Two-step: Peer review, then manager sign-off
- Three-step: Technical review, legal review, then final executive approval
- Four-step: Author self-check, SME review, compliance review, publication approval
- Save the workflow.

A newly created multi-step approval workflow in ApprovalFlow. Each step has its own approvers and approval mode.
Your new workflow now appears in the Workflows table. You can toggle the Enabled column to activate or deactivate it without deleting it. The row actions menu (...) also lets you duplicate or edit existing workflows later.
Step 2: Assign the Workflow to Pages
With a workflow created, you need to connect it to specific pages. There are two ways to do this:
Option A: From the Manage Space tab
- Open the Manage Space tab in ApprovalFlow.
- Browse the page tree to find the page you want to govern.
- Click the row actions (
...) for that page. - Select your multi-step workflow from the assignment options.
This approach works well when you want to assign workflows to multiple pages at once, since you can see the full space hierarchy with current status and workflow assignments.
Option B: From the page itself
- Navigate to a Confluence page in your space.
- Open the page byline area at the top of the page.
- If a workflow is assigned, the approval controls appear. If multiple workflows exist in the space, you can select which one to use when submitting.
Step 3: Submit a Page for Approval
Once a workflow is assigned, any page contributor can start the approval process:
- Open the page you want to submit.
- Click the approval status in the page byline. The initial status shows as Draft (purple lozenge).
- If your space has multiple workflows, select the appropriate one.
- Click Request approval.
At this point, the status changes to In Approval (yellow lozenge). ApprovalFlow automatically posts an Approval Request comment on the page and notifies the first-step approvers via @mentions in Confluence comments.
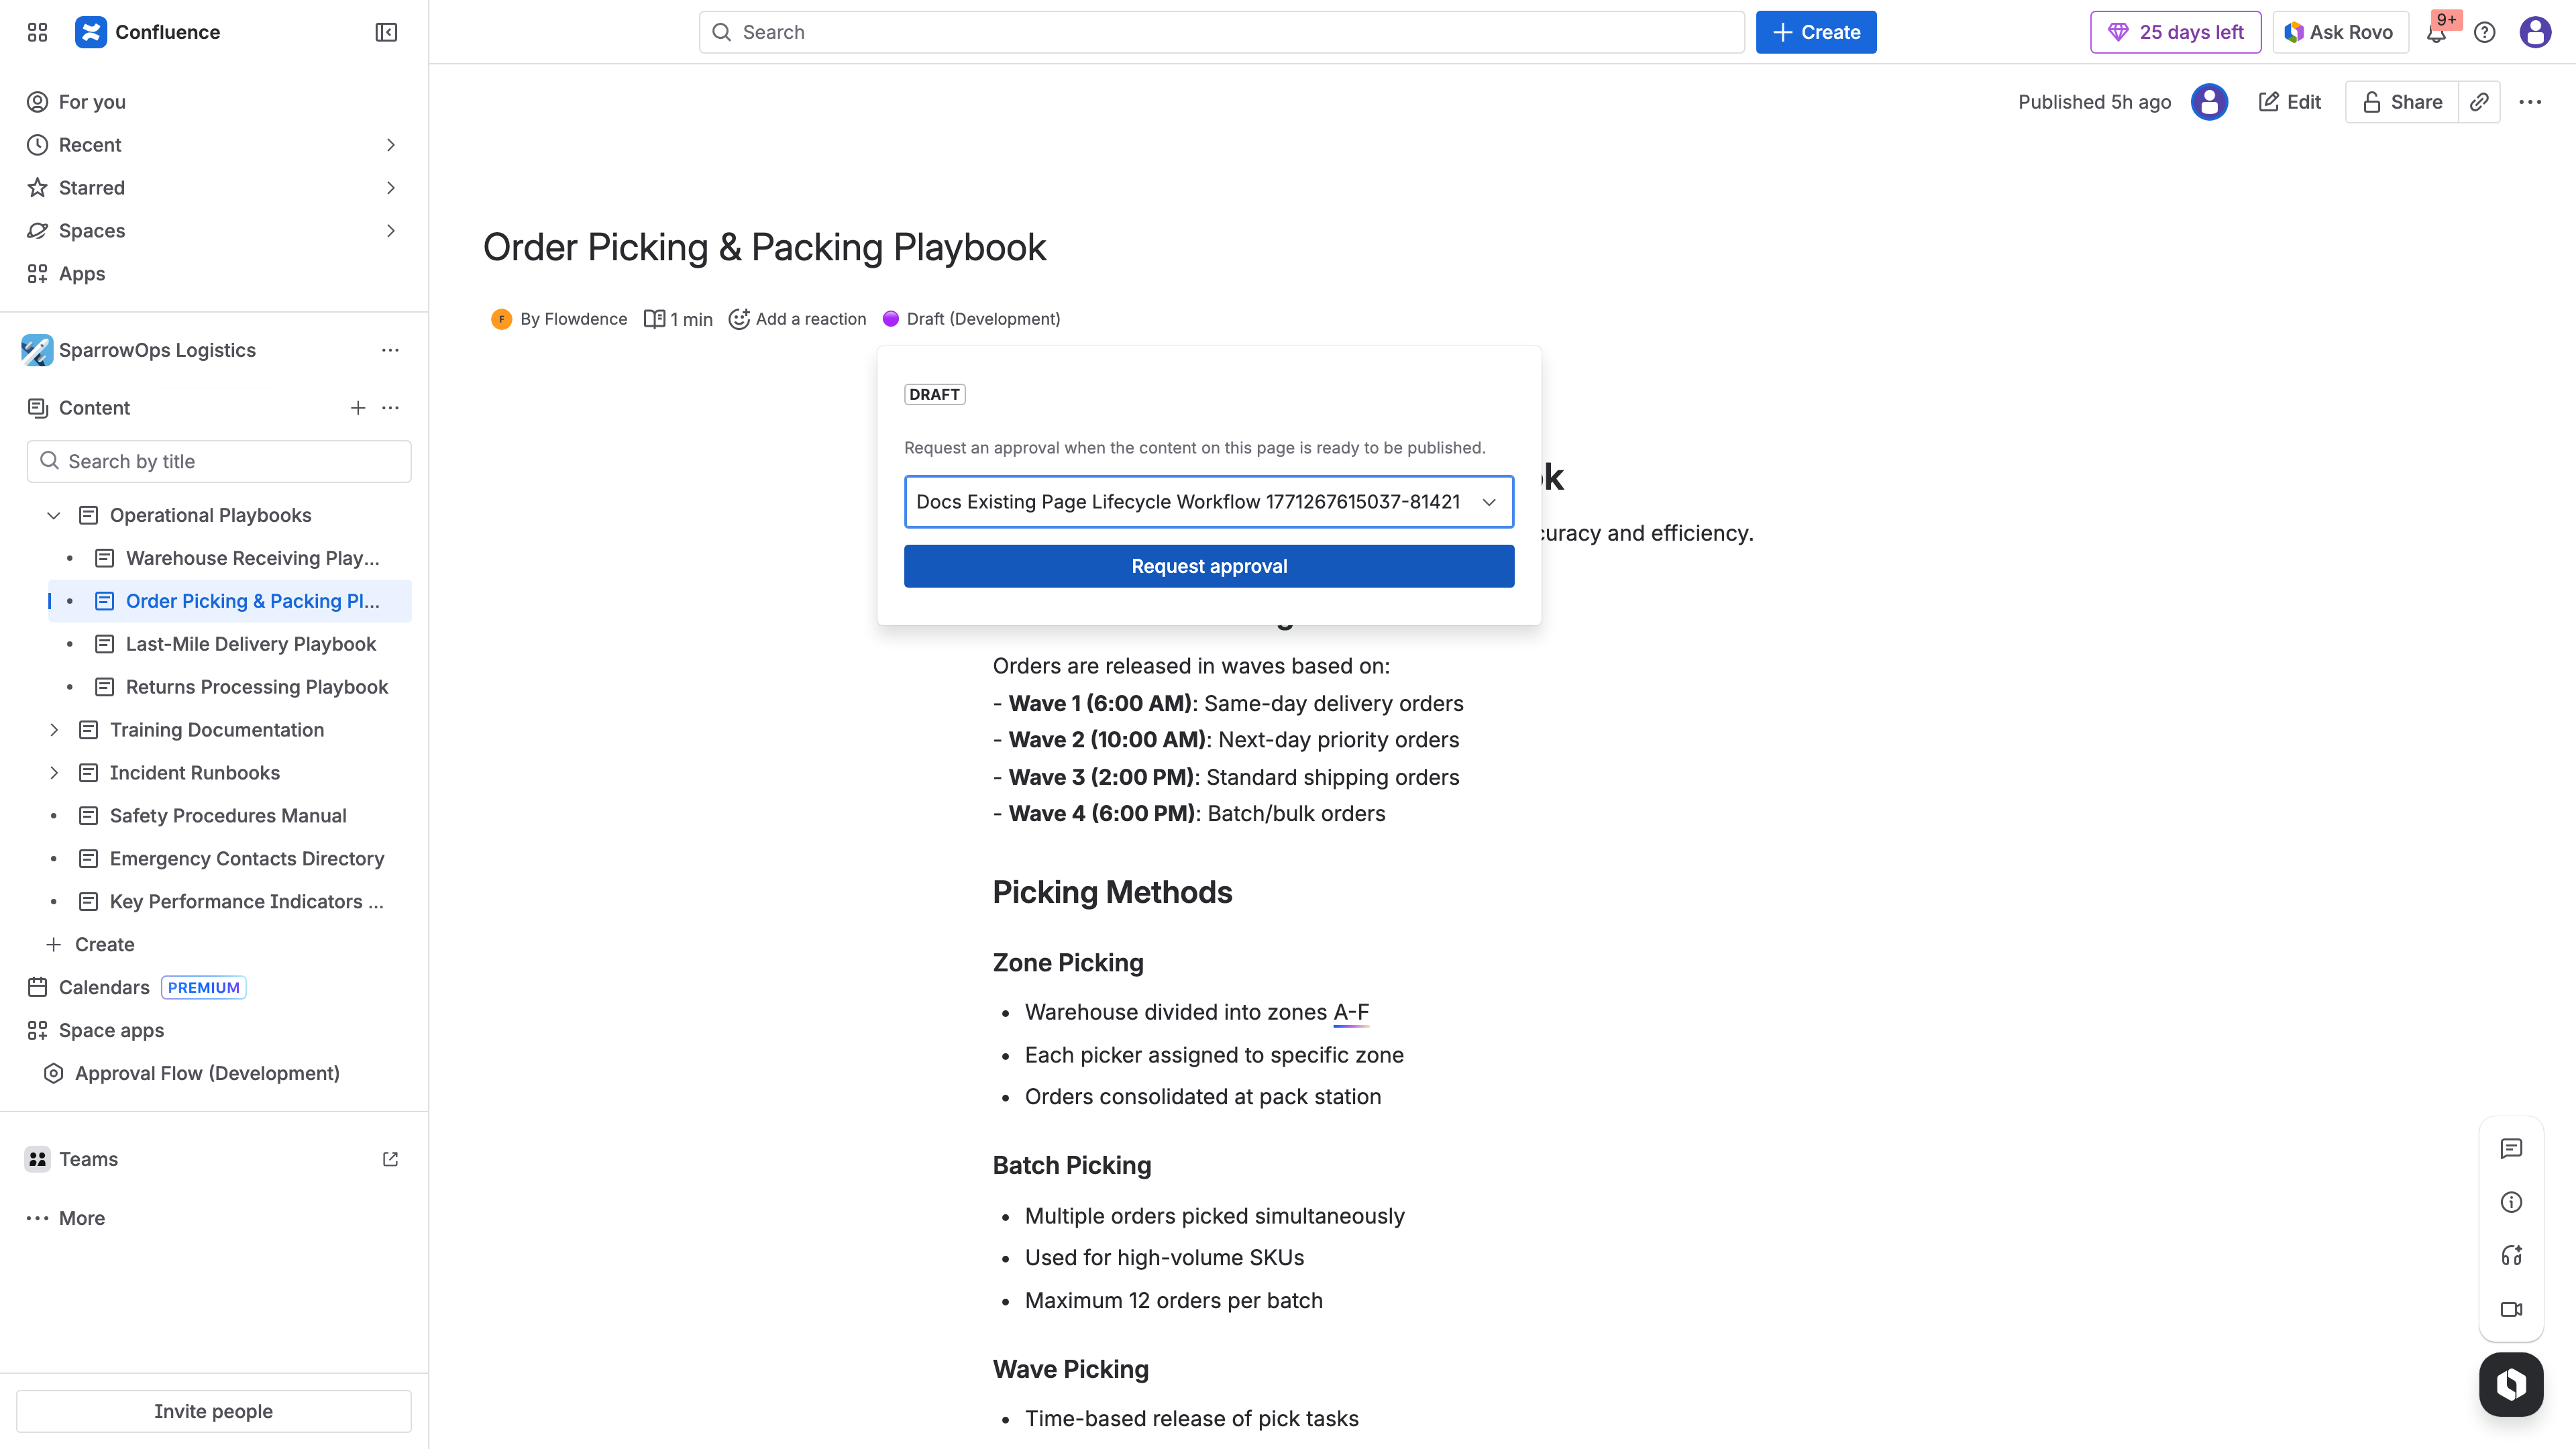
Submitting a page for approval from the Confluence byline. The author selects the workflow and clicks to request approval.
Step 4: Review and Approve as an Approver
When you are assigned as an approver, you receive a notification through Confluence’s standard comment notification system. Here is how to process a pending approval:
- Open the page from your Confluence notifications or from the Approval Queue tab in ApprovalFlow.
- Click the approval status in the page byline to open the approval panel.
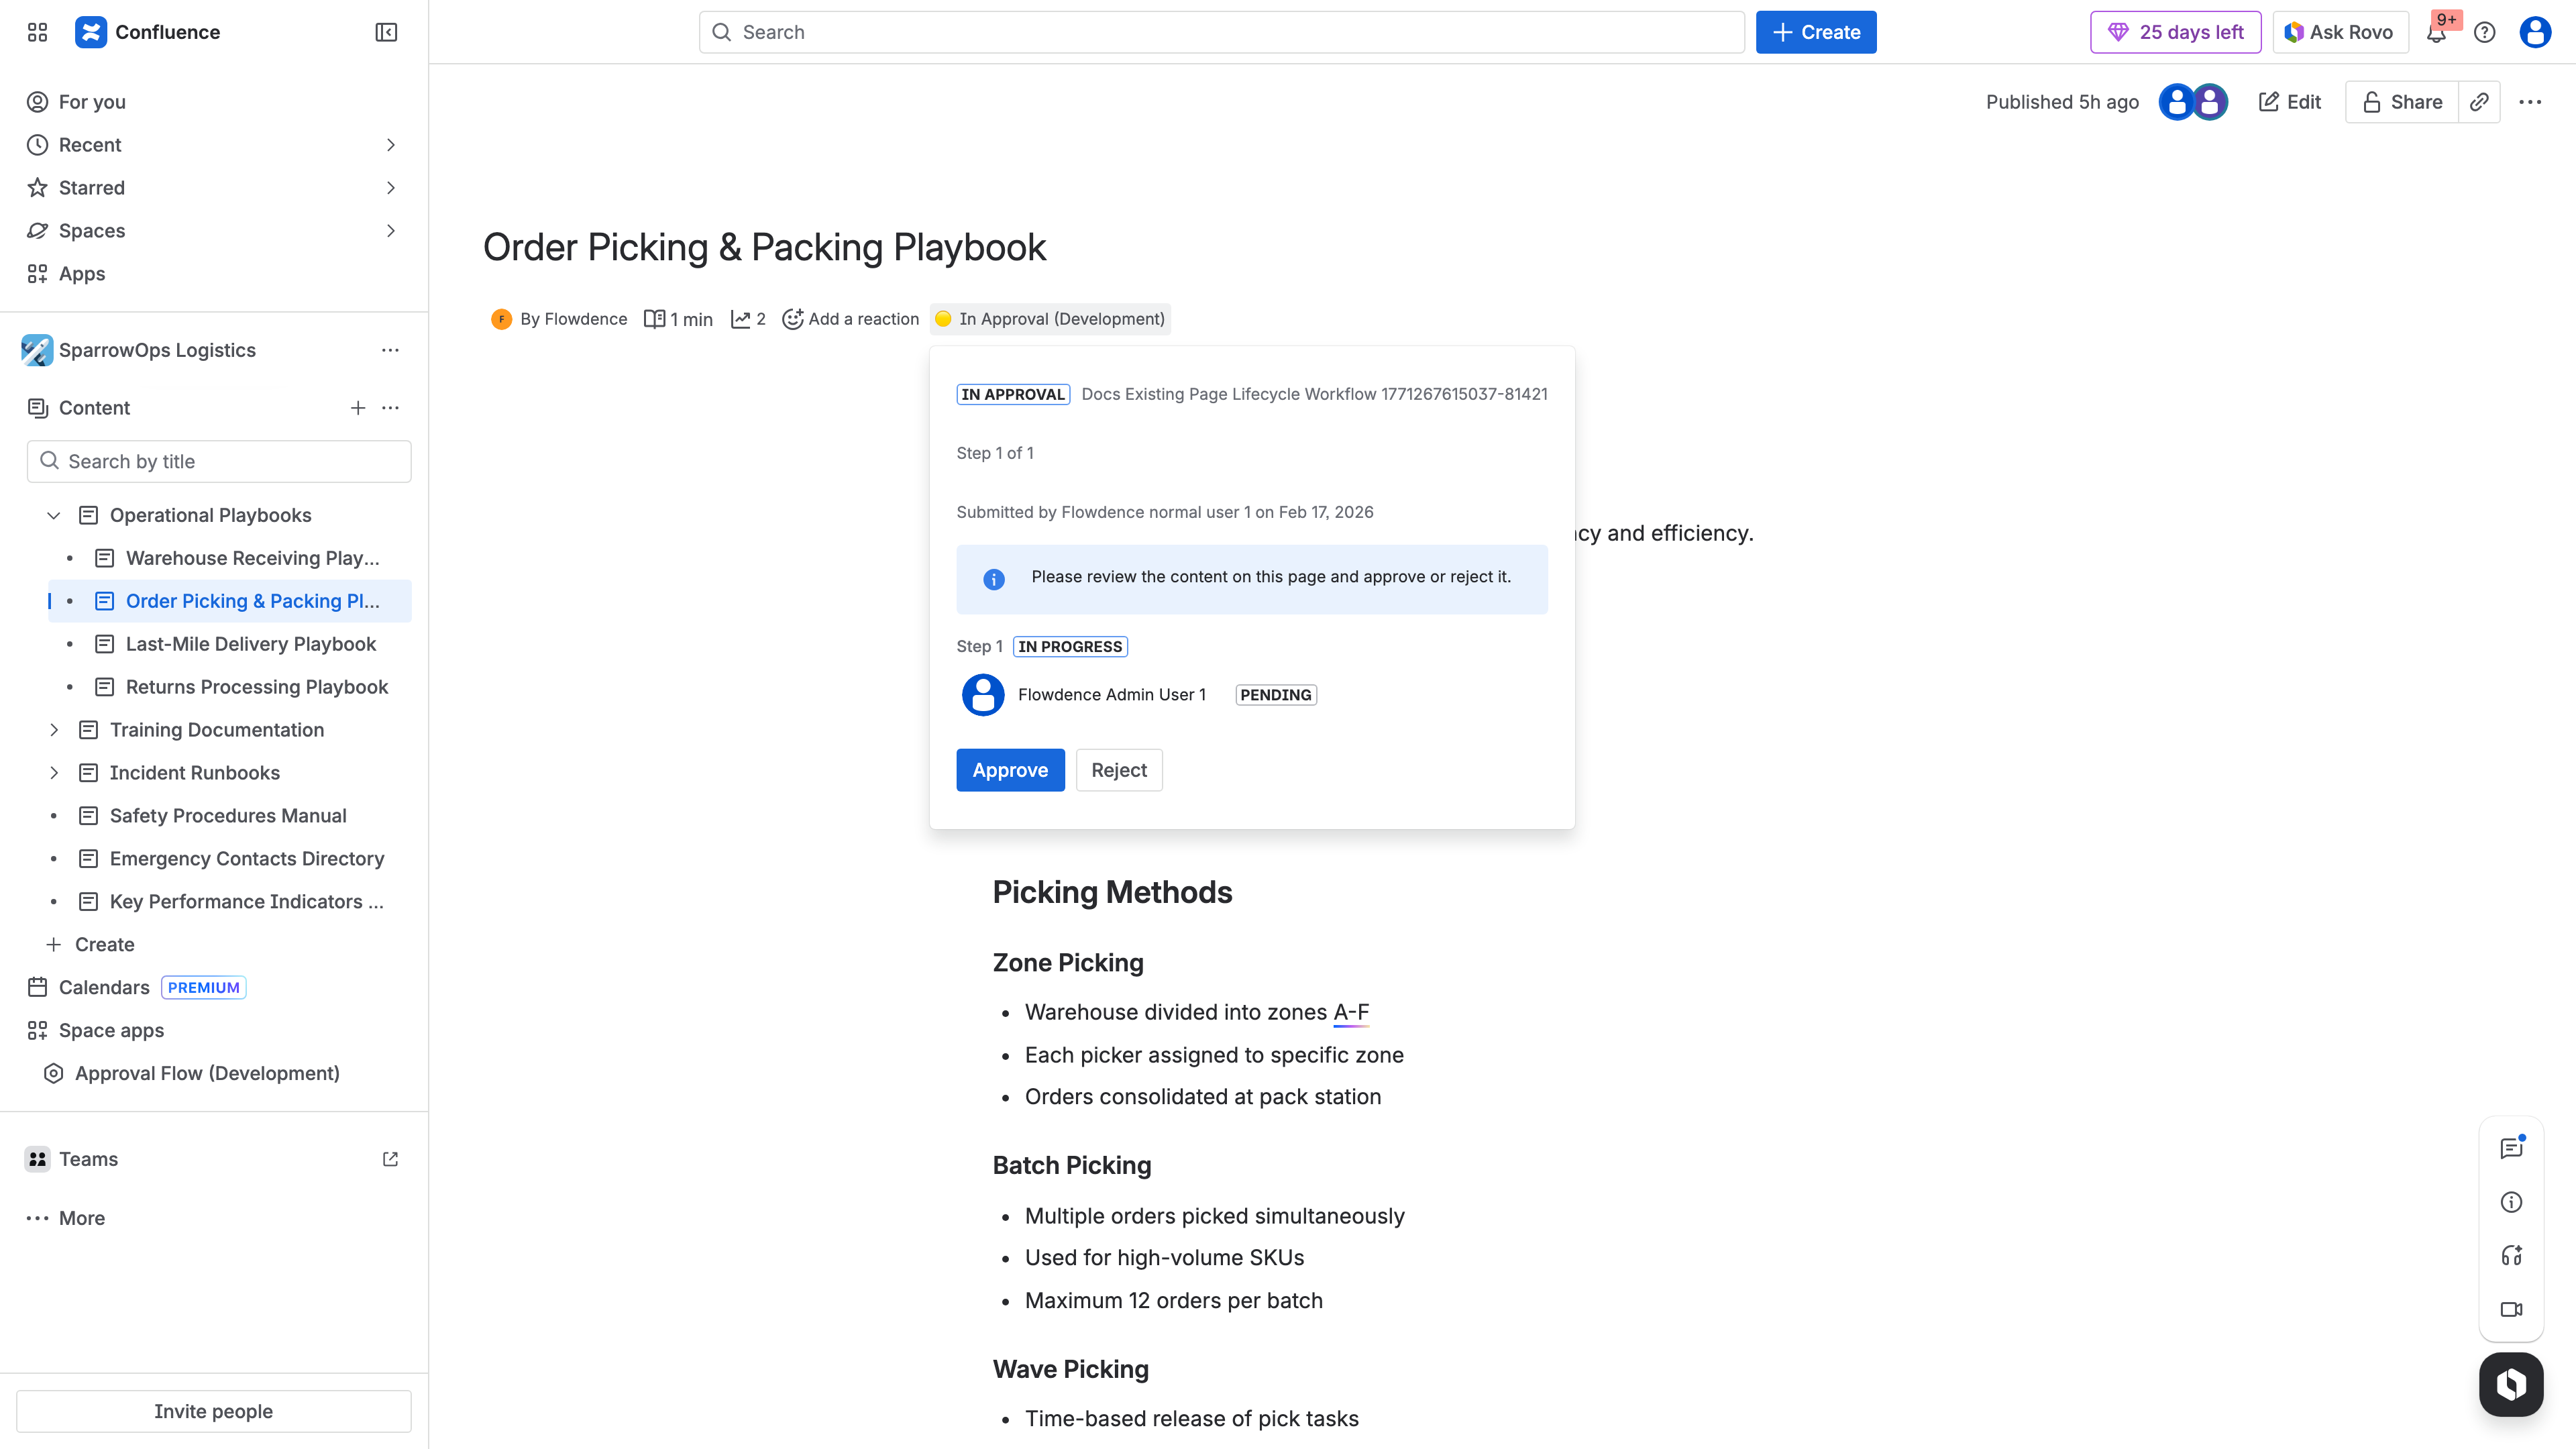
The approver’s pending actions panel. Approvers can approve or reject with an optional comment, and see which workflow step they are reviewing.
- Review the page content.
- Click Approve to move the page to the next step, or click Reject to request changes.
- If rejecting, you must provide a comment explaining what needs to change. This comment is posted as a reply to the original submission comment, creating a threaded audit trail.
- If approving, you can optionally add a comment.
In a multi-step workflow, approving at step one moves the page to step two. The next set of approvers is notified automatically. This continues until all steps are completed, at which point the page status changes to Approved (green lozenge).
If any approver rejects the page, the status changes to Changes Requested (red lozenge). The author can then edit the page and resubmit.
Step 5: Handle Resubmissions with Version Tracking
One of ApprovalFlow’s key features is version-aware resubmission. Here is how it works in practice:
- An author edits an approved page, creating a new Confluence page version.
- The system recognizes that the current page version differs from the approved version.
- The author resubmits the updated page for approval.
- The approval process starts again from step one, with the system tracking which version was approved previously and which version is now under review.
This matters for compliance and governance. Auditors can see exactly which page version received approval and when, rather than relying on a generic “this page was approved at some point” status.
Step 6: Monitor Approvals Across Your Space
ApprovalFlow provides two views for monitoring approval activity:
Approval Queue
The Approval Queue tab shows a live, filterable list of all approval items in your space. You can see:
- Summary cards showing totals for Pending, Approved, and Rejected items
- A filterable table with page name, workflow, submitter, submission date, and current status
- Quick filters to show only Pending items when you need to focus on what needs attention
Each row links directly to the relevant page, so you can jump straight from the queue to reviewing content.
Workflow Analytics
The Workflow Analytics tab provides a dashboard view of approval performance:
- Select a date range and optionally filter by a specific workflow
- View KPI cards: Total Submissions, In Approval, Approved, Changes Requested, Cancelled
- Analyze status distribution charts and daily trend data
- Export data as CSV or HTML for reporting
Use the analytics dashboard to identify bottlenecks. If submissions are sitting in the “In Approval” state for too long, you may need to adjust approver assignments or follow up with reviewers.
Tips for Effective Multi-Step Workflows
Keep step count reasonable. Two to three steps handle most governance needs. Each additional step adds review latency. Only add steps that represent genuinely distinct review concerns.
Use clear workflow names. Name workflows after their purpose and domain, not after generic labels. “HR Policy Compliance Workflow” is more useful than “Approval Workflow 3”.
Leverage cross-space import. If you have a proven workflow in one space, import it into other spaces using the Import Workflows button on the Workflows tab rather than recreating it manually. This keeps processes consistent across your organization.
Set the right approval mode per step. Use Any one approver for steps where any qualified reviewer can sign off (such as peer review). Use All approvers for steps where every stakeholder must explicitly agree (such as compliance or legal review).
Review the audit trail regularly. ApprovalFlow writes all lifecycle events as threaded Confluence page comments. These comments form a complete audit trail that captures who submitted, who approved or rejected, when decisions were made, and the rationale behind each decision. This is valuable for SOC 2, ISO, and GDPR compliance requirements.
What Happens When Workflows Change Mid-Approval
If a space admin updates a workflow definition while approvals are in flight, ApprovalFlow handles it gracefully. Any pending approval that has no recorded decisions yet automatically adopts the latest workflow configuration. This means you can refine your process without worrying about stale workflow definitions being applied to active submissions.
Approvals that already have recorded decisions continue under their original workflow definition to maintain consistency.
Getting Started
ApprovalFlow is available on the Atlassian Marketplace with a free tier for up to 10 users and $0.20/user/month for teams of 251–1,000 users. All plans include a 30-day free trial. The app runs entirely on Atlassian Forge, so there are no external subprocessors and your data stays within Atlassian’s infrastructure.
For detailed configuration guides and advanced features, visit the ApprovalFlow documentation.